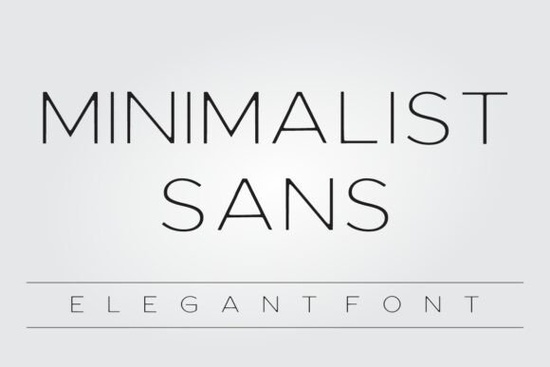
If you are searching for a typeface that stays subtle while keeping your layouts balanced, Minimalist Sans Font offers exactly that. It features thin, uniform strokes and an informal structure that gives off a relaxed vibe. Instead of dominating your composition, the letterforms step back and let your imagery, color palettes, and negative space do the talking. That quiet confidence is why many print-on-demand sellers, boutique shop owners, and creative hobbyists choose this style when they want a modern, understated look.
What types of projects work best with a lightweight sans serif?
Because of its airy weight and casual spacing, this typeface thrives in designs that need breathing room. You can easily drop it into product packaging where simplicity is a major selling point. It also reads beautifully on textile prints, so if you run an apparel store, placing a short phrase on a t-shirt or tote bag will look balanced without feeling heavy. Wedding invitations and event posters benefit from the clean lines as well, giving your layout a contemporary, gallery-like feel. When you are designing labels for candles, coffee blends, or skincare products, the straightforward letterforms keep your branding sharp and legible even at smaller dimensions.
If your current library leans heavily toward bold lettering, you might want to compare how rugged display styles create different moods alongside lightweight headers before locking in your final choice. Sometimes switching from a heavy weight to a thinner alternative instantly modernizes an older concept without requiring a full redesign.
How do you keep thin lettering readable across different mediums?
Lightweight fonts can fade into busy backgrounds or blur during digital scaling. To prevent this, stick to high-contrast color pairings. Dark charcoal text on a soft cream background or crisp white letters over a muted sage green usually works well. When working with all-caps headlines, increase the tracking by ten to fifteen percent. This small adjustment opens up the characters and preserves the casual, friendly tone. For digital graphics, export your mockups at a higher resolution so the fine strokes do not pixelate on mobile screens.
If your project requires a handwritten accent to balance out the clean geometry, you can explore softer display alternatives that complement minimalist layouts. The goal is to keep the visual hierarchy simple so the viewer never feels overwhelmed. Always preview your typography on a secondary device before finalizing, since screen calibration can drastically change how thin strokes appear to your customers.
Can you use a thin display font for logo marks and branding kits?
Yes, as long as you keep the application straightforward. This style works best for boutique studio names, wellness brands, or modern cafés that favor approachable, uncluttered identities. Avoid condensing or artificially stretching the characters, since that will break the natural rhythm of the typeface. Leave the tracking close to its default setting, and consider placing the text inside a simple rectangular frame or letting it stand completely alone. Small teams often pair a clean header with a single line-art graphic to build a cohesive system that scales well from business cards to storefront signage.
If you want to see how other creators handle spacing and alignment with quiet typography, you can browse through recent community examples and layout breakdowns. Observing how professionals structure their negative space often saves hours of trial-and-error when you are drafting your own brand guidelines.
What technical checks should you run before sending designs to production?
Print-on-demand requires precision, especially when working with fine type. Always convert your text to outlines or embed your font files before exporting final PDFs or PNGs. This step prevents rendering shifts when the file moves between different software or print machines. Run a quick proof at actual size rather than zoomed in, so you can catch any unexpected gaps or overlapping elements. Testing a single sample before ordering a full batch saves time, reduces waste, and ensures your final product matches your original vision.
Quick checklist before you publish your next design
- Verify contrast levels between your text and background to keep thin strokes crisp.
- Adjust tracking slightly when setting all-caps headlines to improve airflow.
- Limit your layout to two complementary typefaces to preserve a calm aesthetic.
- Convert text to curves and check file dimensions before sending to a printer.
- Save layered working files so you can tweak sizing or swap colors later.
 Design Your Project with Classic Western Fonts
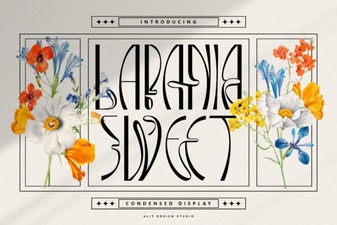 Creative Projects with Lapania Sweet Font
 Free Friendship Bracelet Font for Craft Designs
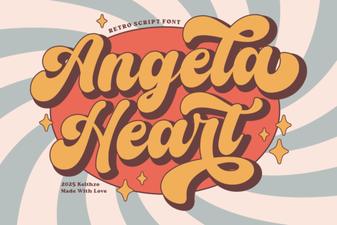 Angela Heart Font for Beautiful Crafting Projects
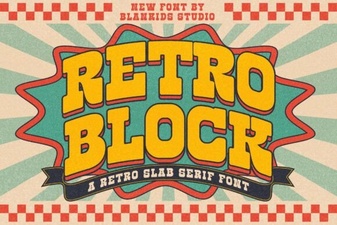 Embracing Classic Design with Retro Block Fonts
 Pink Heart Font Ideas for Creative Design Projects