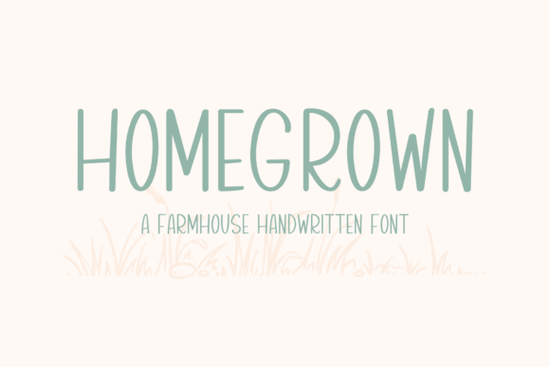
If you spend your time cutting vinyl, printing custom mugs, or arranging layouts for small shop listings, you already know how much the right typography matters. The Homegrown Font was built for makers who want that effortless, hand-drawn look without spending hours sketching by hand. It carries a relaxed, slightly uneven baseline that mimics natural pen strokes, which instantly softens rigid layouts. This makes it a reliable choice for anyone working in the farmhouse or modern craft space.
What makes this handwritten style work for rustic projects?
The charm of a script typeface comes from how closely it matches real handwriting. Unlike stiff digital alternatives, this design leans into playful loops and varied stroke weights that feel warm and approachable. When you place it on wooden signs, kraft paper packaging, or seasonal greeting cards, the letters blend right into the texture instead of fighting against it. If you are exploring similar flowing typefaces, you will notice how much easier it becomes to layer text without losing readability. The spacing is already adjusted for quick crafting, so you rarely need to manually adjust tracking before sending files to your cutter or printer.
How do you use it with Cricut and cutting machines?
Cutting script letters requires a bit of patience, especially when dealing with thin connections and overlapping tails. Because Homegrown Font maintains consistent stroke thickness across most characters, it behaves well with standard vinyl, heat transfer, and even thin basswood. Before you start your project, always run a quick test cut on scrap material. Adjust your blade depth based on the thickness of your medium, and use the weld function for any words that overlap too tightly. This prevents the machine from cutting the connecting lines twice, which saves your vinyl sheets from tearing.
Can you pair it with other typography without making a mess?
Pairing a casual script with a clean sans serif or a sturdy slab is usually the safest route. The script handles the emphasis while the secondary typeface keeps dates, pricing, and fine print easy to scan. You do not need to overcomplicate your layout; let the handwritten letters carry the visual weight. Many sellers mix this style with versatile script duos to build cohesive brand kits, while others prefer the simplicity of matching it with classic display options. Keep the contrast in size obvious, and avoid stacking more than two different weights in a single composition.
Which projects get the most mileage from a farmhouse script?
Once you download the files, the applications are fairly straightforward. Here are the layouts that tend to perform well across print-on-demand stores and local craft fairs:
- Custom wedding seating charts and menu templates
- Packaging labels for homemade candles and baked goods
- Sublimation designs for tote bags and coffee tumblers
- Layered paper crafts and scrapbook overlays
When you work in these spaces, readability matters just as much as style. A quick tip is to run your mockups past a few test viewers before publishing. If someone struggles to read a product name at thumbnail size, scale up the base letters or reduce decorative swashes. For additional design references, you can explore romantic script collections or check out the whimsical character sets to see how different stroke styles interact with background patterns. If you want to see how Homegrown Font looks in live preview mode, browse the official product page to compare character weights before purchasing.
What should you check before finalizing your design?
Handwritten typefaces look effortless, but they still require a careful final pass. Verify your licensing terms, especially if you plan to sell physical goods under a standard commercial license. Check the kerning on problematic letter pairs like AV, LY, and To. Make sure your background color does not swallow up the thinner strokes, and always export at a high resolution for crisp printing.
Before sending your next batch of files to print, run through this quick setup checklist:
- Test legibility at actual size – Print or view on a device at the intended dimensions.
- Weld and path-check – Combine overlapping letters and fill open paths if using vector editors.
- Match blade and material settings – Adjust pressure and speed to match your vinyl or paper weight.
- Verify commercial rights – Confirm your license covers your planned product type and sales volume.
- Backup your project files – Keep both the editable source and the flattened final export in your folder.
Once your checklist is complete, load your material, run a small scrap test, and watch how naturally the letters come together. Start with a simple two-line layout, adjust the tracking by hand, and let the natural rhythm of the script guide your spacing.
Download Now Angela Heart Font for Beautiful Crafting Projects
 Hello Honey Font: Creative Projects and Uses
 Design with Jolly Vibes Bold Font Creativity
 Unlock Creativity with Pencil Project Fonts
 Creative Elegance: Using Cursive Fonts in Design
 Designing with the Friendly Milkshake Font